Metal detecting on the beach
Metal detecting on beaches can be rewarding but does come with difficulties. The main two issues are the amount of discarded trash that will give a good signal and the harsh salty conditions of wet sand that can cause the detector to see the beach as one very big target!
Metal detecting on a quiet beach after all of the holidaymakers have left for day can be one of the most relaxing and conversely one of the most exhilarating hobbies you can do.
I have detected many beaches when on holiday and have found some great stuff! Beach metal detecting is an excellent way to make some side money.
Read my article on how to earn an extra income from beach metal detecting here.
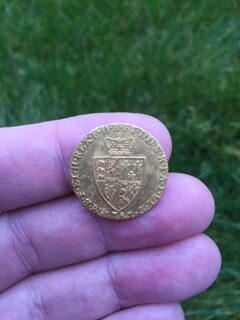
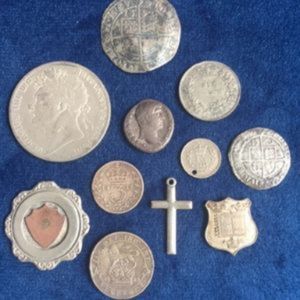
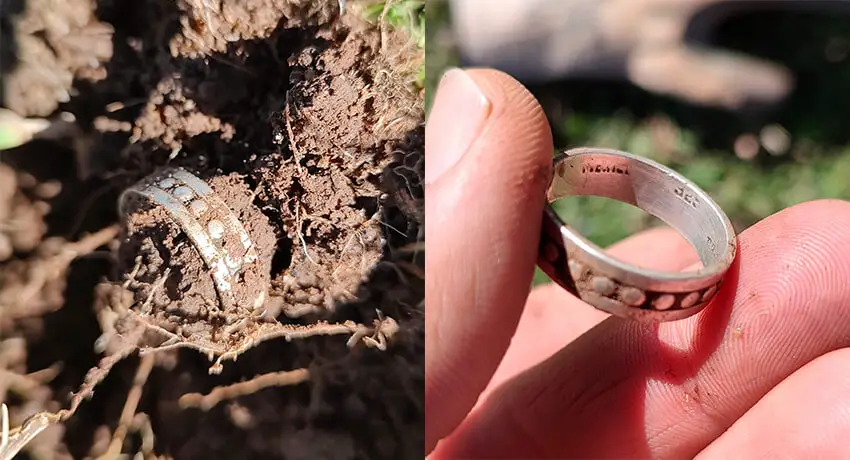
I have recovered a holidaymakers gold wedding ring that was lost whilst paddling in the sea, I’ve found a platinum ring that just so happened to fit my wife perfectly, chains, necklaces and more loose change than I could count!
Beach metal detecting is one of the best things going in my opinion but there are some things to consider.
Don’t worry, I’m not going to put a downer on things or pour cold water over your enthusiasm!
What I mean is that there is an art to metal detecting on the beach and before you rush off, it’s good to be armed with as much knowledge as possible which makes sense doesn’t it?
Beach detecting can be challenging. Questions like, “the beach is huge, where do I detect to maximise my time?” or “what metal detector is best for the beach?”.
We’ll also cover what accessories you may need and what time is best to detect.
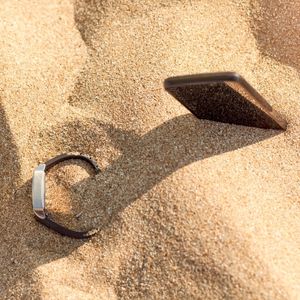
Beach conditions, due to their salty nature can be very challenging to some metal detectors whilst other detectors seem to not be bothered.
We’ll go into this and if you live near a popular beach, fancy a go at it and haven’t purchased a detector yet……don’t purchase one until you’ve read this article…..it’ll save you a lot of heartache!
With the correct detector, equipment and knowledge you could be in business.
I know guys who have retired, live next to a beach and detect most days. It keeps them active and also supplements their pensions with the lost money and jewellery they find!
On one static caravan holiday in Cornwall, I asked my wife, friends and daughter if they fancied coming down to the beach for a couple of hours with the detector.
All of them declined for some reason so off I went. Two hours later I returned, only due to me losing daylight, with the pockets in my cargo shorts laden with sandy coins!
As I entered the caravan, I was asked, “….did you have any luck?” I then emptied the entire contents of my booty I’d bagged and they absolutely couldn’t believe it!
The kids then spent the next hour counting out the change. The haul kept us all in Cornish pasties and chips for three days! You can also read my article if metal detecting is worth it here.
Okay, beach metal detecting……let’s get into this!
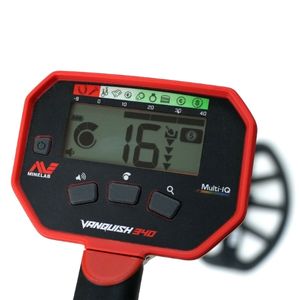
Unbeatable Multi Frequency!
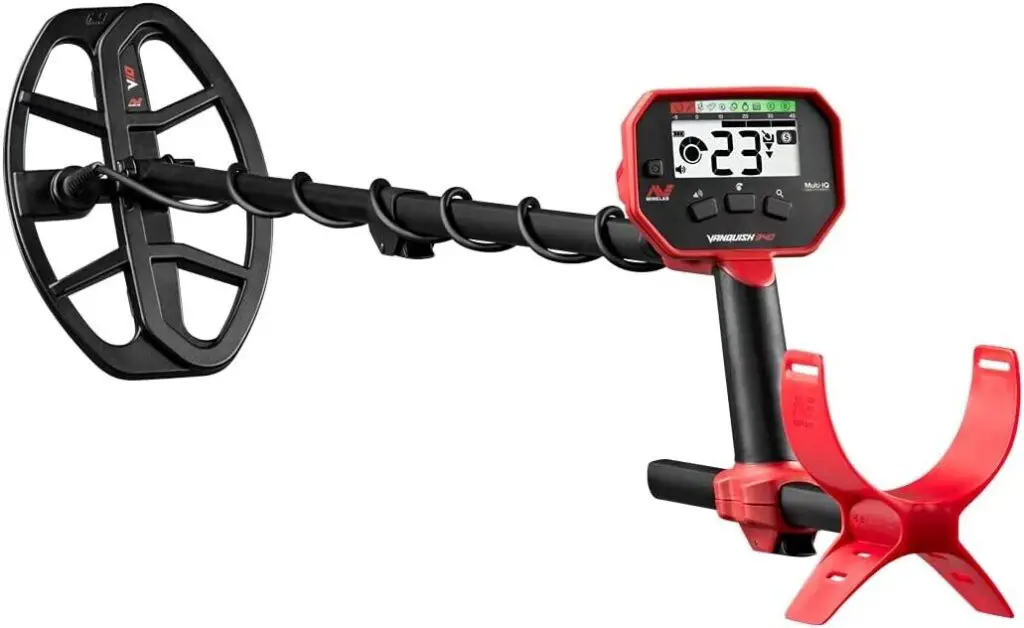
You can now get the ultimate power of multi frequency technology over single frequency detectors with the Minelab Vanquish range of detectors.
The entry level Vanquish 340 now gives you ultimate depth, stability and sensitivity on all target types in every soil, including wet beach sand.
Can you use a metal detector on the beach?
Metal detecting on the beach laws
Okay, let’s get the law out of the way first! As I have eluded to in my other article about metal detecting and the law, (which you can find here!), all land in the UK belongs to someone.
That includes beaches. This maybe news to some but it’s true. All land since Norman the Conquerer has been dished out to someone. Land can be privately owned along with some beaches.
Whatever isn’t privately owned technically is owned by the crown, albeit the current reigning monarch, either a king or queen.

“What about that piece of open common ground we have that everyone enjoys using?”….I hear you cry.
Well….it’s probably owned or managed by your local council and ultimately belongs to the crown.
The important thing here is that you must get permission to detect on land or you’re technically trespassing.
Let’s get onto beaches however. So, beaches can be privately owned or belong to the crown. The beaches owned by the crown are known as Crown Foreshores.
More information on these can be found on the Crown Estate website here.
Privately owned beaches, in most cases have been purchased from the crown by holiday companies wishing the beach to be exclusive for their holiday makers.
In these cases, technically you need permission to detect on them, however slim the chance is of being challenged…..which is zero really in all honesty!
You can read my article on the law and is metal detecting legal here.
Beach metal detecting permit

Once upon a time, you never needed to obtain a permit to detect on a Crown Foreshore beach.
Then someone official suggested that it would be a good idea for every beach detectorist to have to apply to their local council for a permit.
As you can imagine, the logistics of having to find, issue and monitor these permits were just too much.
Local councils had limited resources and just couldn’t cope with the bureaucracy of it all so it was discontinued.
So….you now do not need a permit to detect on a beach.
If you stumble across any metal detecting articles trying to explain about beach detecting telling you that need a permit, the article is either out of date or the author is just plainly wrong.
So, that’s the legal part out of the way!
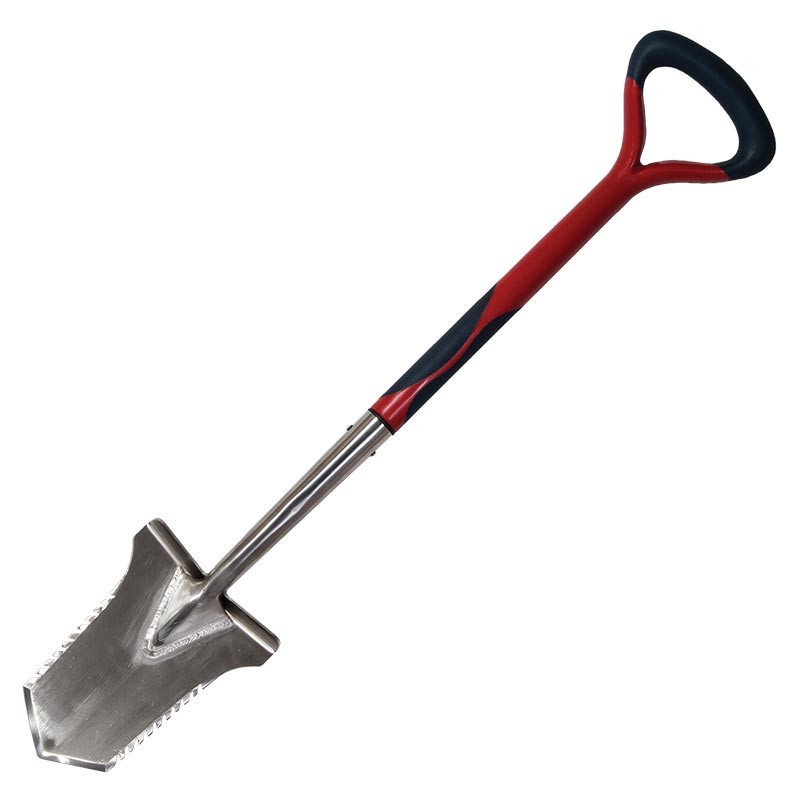
The Evolution Pro Cut
The ultimate accessary for the serious metal detectorist. Super strong, stainless steel specially designed spade.
Best metal detector for beach
As I eluded to earlier, beach detecting can be challenging for entry level to certain mid level detectors if you haven’t chosen correctly.
There are certain features to look for and certain technology if you want to get the best from your time.
A beach will typically be divided into two areas, a dry area and a wet area. Both areas will have a salt content but it’s the wet area soaked in sea water that is the most challenging for a detector.
This area however can be one of the most profitable if it can be handled by the detector.

The dry area of the beach should be absolutely fine to detect on with a box standard detector with above average discrimination and some flexibility in its settings.
Within this region of the beach, this is where holiday makers and day trippers sit on deck chairs, loungers and beach towels.
It’s amazing what you’ll find in this area. People getting changed will have items fall from their pockets.
People going for a swim or paddle will remove watches and jewellery beforehand only to lose them in soft sand.
Another classic are sunbathers applying sun tan lotion which creeps under finger rings making them slide off……so it’s all to play for. The only compromise is that they also drop a lot of rubbish, and I mean a LOT of rubbish.
Silver foil from unwrapping sandwiches and chocolate bars, snapped off ring pulls from drinks cans etc. For sorting the finds at a faster rate, read my article on metal detecting sand scoops here.
Interestingly, if you’re old enough, you’ll remember when the ring pulls from drinks cans fully detached from the can! Nowadays, they remain with the can which is a god send.
You will however still dig a lot of these, even if they are the older type or newer snapped off types.
Best salt water metal detector
Now, if you kept using this entry level detector further down the beach and started to move into the wetter sand towards the surf, it would probably start to go haywire as the ground balance struggled to cope with the salty sand.
This is usually a problem for single frequency machines by the nature of how they work and how they calculate or manage ground conditions.
Most entry level detectors will have what is called a “fixed” ground balance. This is because it’s cheaper to produce or that an adjustable ground balance is reserved for the higher priced machines in the range.
This “fixed” ground balance is determined by the manufacturer to cope with “average” mineralisation on typical land conditions.
More expensive detectors will have a manual, adjustable ground balance or even a ground balance that automatically sets, tracks the ground conditions and updates itself.
This maximises the machines stability and its ability to detect deeper targets without you having to constantly make adjustments.
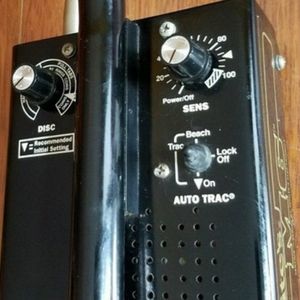
Before I get carried away, let me briefly explain about ground balancing.
A ground balance function helps to maximise a detectors detecting depth in mineralised difficult conditions.
This mineralisation can be salts or fine particles of iron. What happens is that these salts or fine iron confuse a detectors transmit field around its coil.
This is very similar to how a target would disrupt a transmit field. (The field produced around a coil is stable. When a target enters that field, it disrupts it giving you a signal)
Because the ground however is much larger than a typical target, the detector will see the ground as one big target….if that makes sense! It can also cause legitimate targets to disappear in the noise.
Ground balancing is carried out by a detector with some clever electronics and maths which basically nulls the ground and removing (or subtracting) it as a big target….thus leaving only the proper smaller target.
This is more difficult with single frequency machines. Even with adjustable ground balancing, the salty conditions can overwhelm the range of the ground balance circuitry.
Some single frequency machines can come with what is called a “Beach” mode.
This can help in many cases but the way beach modes work in a single frequency situation means that some targets can be lost.
It does help but it’s not perfect as aggressive beach balancing can effect discrimination causing some targets to be undetectable.
That’s the compromise with a single frequency machine. Information gathered by the detectors electronics are limited to only one frequency.
Now comes the clever bit!
New multi frequency VLF machines by the nature of how they work absolutely love wet sand and will not be troubled by salty conditions.
Multi frequency metal detectors were once considered the holy grail of detector technology.
When they first came out, they were really expensive and to an extent, the top of the range models still are.
I have an article on how multi frequency metal detectors here
The good news is, this superior technology can now be had at much lower prices for an entry level multi frequency machine. This typically would be the Minelab Vanquish 340.
The advantages are that because more than one frequency is used, more information can be gathered as each different frequency is “views” the ground and targets in a different way.
This transforms the ability to ground balance and allows targets to detected at greater depths with more stable target identification.
Typically on land, as a target gets deeper in the ground, there is more chance that a single frequency detector will see it as iron rather than a coin for example…..due to the ground.
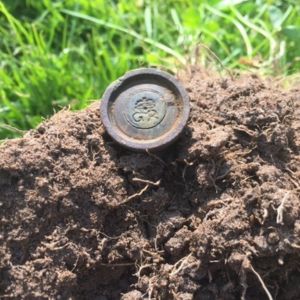
True story!…..whilst on a Sunday club dig, I detected a nice signal on my Minelab Equinox 800 (which is multi frequency).
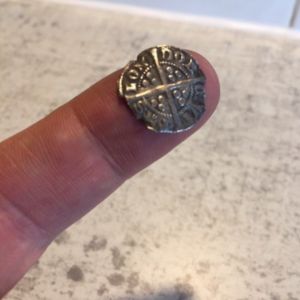
My target ID was a stable 7 which through experience, indicated to me that it might be a small, silver medieval hammered coin.
I asked 4 club members to cross check the signal and tell me what they thought it might be. These guys had very expensive single frequency detectors!……they all told me it was iron!

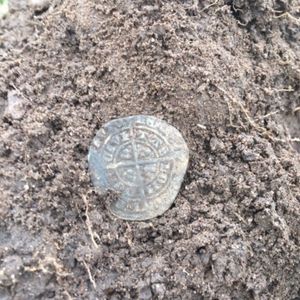
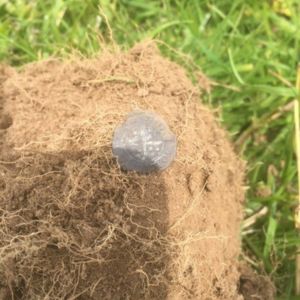
They walked off and I proceeded to dig the target….guess what?…..it was a little silver hammered coin that was about 500 years old……this is the difference with multi frequencies.
What happened was, the silver was small and quite deep.
Their machines, only receiving data from one frequency thought it was iron where my machine was gathering data from several frequencies.
I cannot recommend enough either starting or upgrading to a multi frequency machine. This technology can be had for under £250 with the Minelab Vanquish 340.
These machines utilise 3 frequencies. More frequencies are introduced as machines get more advanced and expensive. My machine, the Minelab Equinox 800 uses 5 frequencies.
An entry level Equinox is available in the 600 version. (In another article, I’ll explain further about frequencies and how they differ)
Beach metal detecting tips
Best time to go beach metal detecting
When limiting your beach detecting to the busy dry sand parts that tourists and holidaymakers sit on and sunbathe, the best times are before it gets busy.
Try to get there when the sun comes up so you have enough light to see, but nobody is on the beach to disturb you.
There is nothing worse than being followed along by annoying children bombarding with stupid questions like “…..will it detect plastic?”.
This will at least give you a couple of hours detecting before the beach starts to fill up.
If you have an appropriate detector like we touched on previously, you could now venture further towards the wet sand and further away from the majority of the holidaymakers and tourists.
Top Tip!
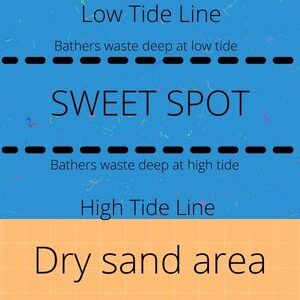
Now, my top tip which I shall impart to you totally free because I want you to find loads of things!
This comes in two parts…..the tides and the habits of the holidaymakers!
Before you go anywhere, check out the tide tables for the area closest to where you want to go.
Make a note of the time for the high tide and then for the low tide.
(This will work best when these times are during the day because obviously you’ll need to see what you’re doing!)
Now armed with this information, go to the beach you intend to visit without your detector. Go there at either the high tide time or the low tide time……now observe the beach.
Let’s say you arrive at the beach at high tide. Observe the bathers and swimmers. You’re looking for bathers that are stood up with the water approximately around waist height.
Now make a visual reference point somewhere of where those people are….like a particular rock on a cliff. Now you can leave and then come back to the beach 12 hours later at low tide.
Again, observe where the bathers are when waist deep. Make another visual reference point to refer back to.
So, you now have two reference points on that where bathers between high and low tides paddle in waist deep water……this strip is called the “sweet spot”.

Let me tell you of a couple of things that happen to bathers in this sweet spot. When hands are submerged into cold water, they shrink slightly.
Loose rings then have enough gaps to slide off fingers and plunge downwards into the sand.
(This is what happened to a holidaymaker in which I recovered his gold wedding band for him).
People that also where gold chains around their necks then attempt to splash around and swim. Throwing their arms around, their fingers catch their necklaces and get pulled off only to find themselves also in the sandy bottom.
Recovering items like this on an empty beach at twilight is one of the most exhilarating feelings!
What other items will you need?
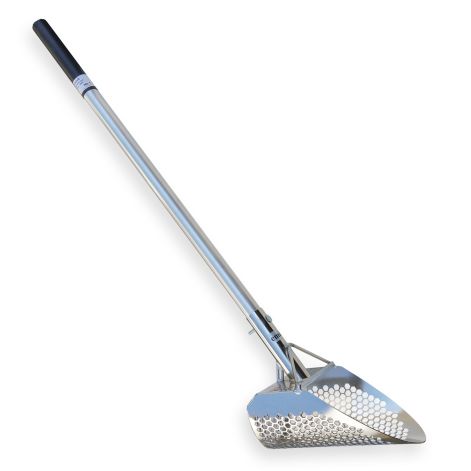
Metal detecting sand scoop
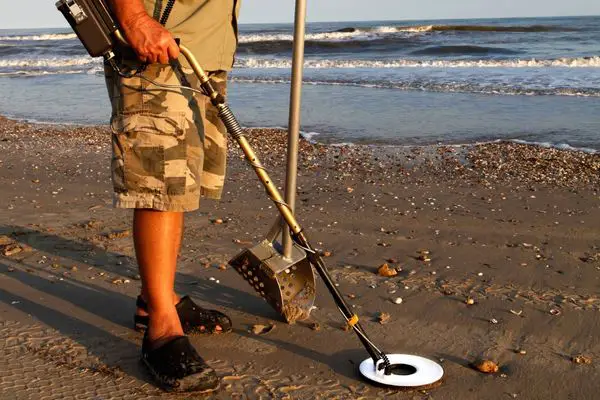
A good sand scoop is one of the best pieces of kit you can have as a beach detectorist.
They can come in a variety of types and are typically either plastic, aluminium or stainless steel.
They will have holes in them to allow you to shake out or sieve the sand leaving your target in the scoop.
Having a scoop on a long handle also helps you by reducing the amount of crouching and standing you have to do.
When down at a waterline where you are possibly near the surf, a scoop full of sand can also be washed out in the surf whilst also leaving the target.
A pinpointer
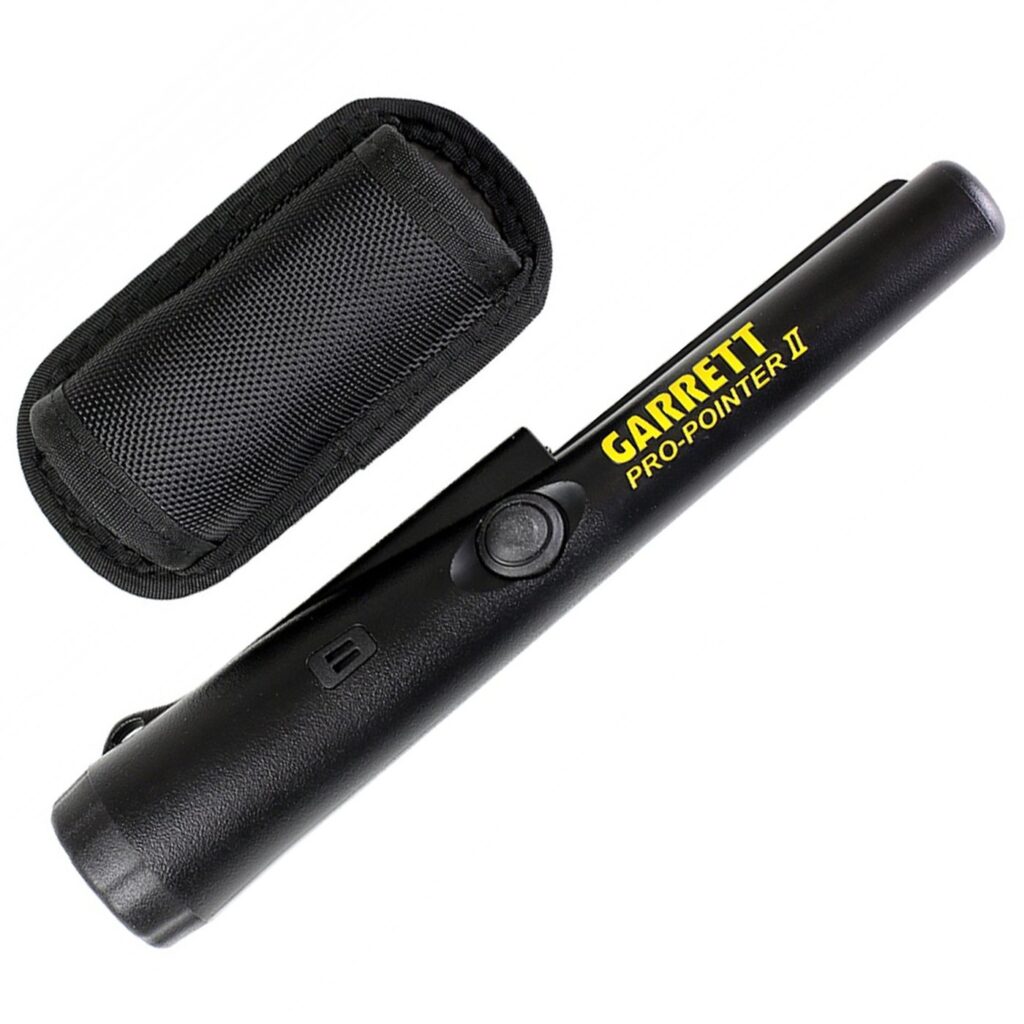
Pinpointers are great. They are like having a mini detector in your pocket.
If a target is proving to be really difficult to find, a pinpointer can give you the edge as it’s much more precise.
They obviously don’t detect as deep as a fully sized detector, approximately 1-3 inches deep.
The advantage however is that the tip is small so you can locate a target exactly in a small pile of sand or an excavated hole.
Find a low priced Garrett Pro Pinpointer over on Amazon here.
They can save you a lot time. I have a Garrett Pro Pointer which I’ve had for years. Most pinpointers detect all metal only so will give you a signal and/or a buzz on anything metallic, including iron.
There are some pinpointers however that are a little more sophisticated and will give you a lower tone or grunt for iron and a higher tone for metals that aren’t iron. The Minelab pinpointer does this.
A belt and pouches
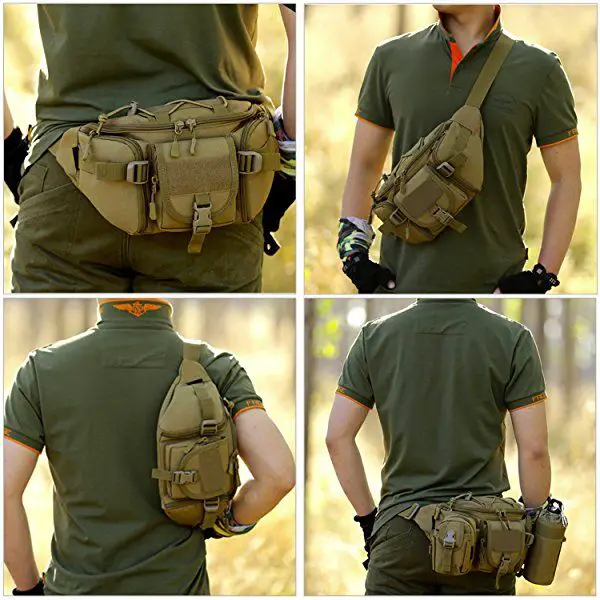
Something that is easy to forget is a good utility belt and some sturdy pouches.
These are useful for carrying some essentials like a small First Aid kit, any specific medicines and some snacks and drinks.
They also offer easy stowage of any waste targets that you may dig plus detecting kit.
It really is just good skills to remove from the beach any rubbish. Firstly because it avoids you from possibly digging it again and it also removes the potential for someone, or their pet dog to be injured or cut from it.
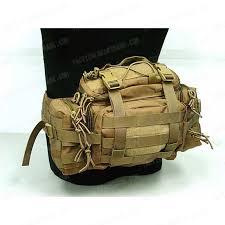
A smaller container for any valuables is also a good idea. My personal pouches are made by “Molle” like the ones above and have served me very well.
They have inner linings that I pull out when emptying any rubbish responsibly at home. The utility pack carries my First Aid kit, refreshment, snacks, mobile phone etc.
Find some low priced Molle packs and pouches over on Amazon here.
Final thoughts
Okay, we’ve covered a massive amount in this article but it’s all been good stuff that’ll stand you in good stead. Why not read my related article on underwater metal detecting here!
We’ve covered what a great experience you can have alone on a beach, in a world of your own trying to uncover lost treasures and how profitable it can be sometimes.
We’ve also covered the law on beach detecting and that it’s perfectly fine to detect on Crown Foreshores. Private beaches will need permission of course.
We also covered a little on the differences of single frequency and multi frequency detector technology and how multi frequency machines handle the beach, (and the land) better.
You can find this multi frequency technology in a Minelab Vanquish 340 for under £250. Check them out on Amazon here.
I gave you some great tips on when to detect on a beach and how to survey it first to enable you to find “the sweet spot”.
Finally, we covered some essential pieces of kit you need to make your life easier when beach detecting. I hope that this article has been of use and please check out my other article at Discover Metal Detecting.
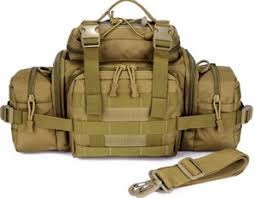
Ultimate Tactical Packs!
Carry everything you’ll need for a detecting day like a First Aid kit, detector spares, finds boxes, batteries, snacks and drinks to rehydrate.
Never forget anything again with a belt pack!


