What is a metal detecting pinpointer?
A metal detector pinpointer is a small, handheld metal detector used for finding targets in soil plugs or holes that are difficult to see.
They beep to indicate a target is near and the beeps increase in speed as the target gets closer until a continuous tone indicates its precise location.
A metal detector pinpointer or “probe” as some detectorists like to call them are one of the most useful pieces of kit you can own as a detectorist.
Having one of these accessories on your belt will drastically limit or even eliminate the amount of seemingly impossible small finds that can sometimes elude you.
I personally can say that I use mine everytime I go out detecting and I can honestly say that I couldn’t live without mine. I know that I would have definitely walked away from targets in a hole if I didn’t have mine with me.
We will look at the main pinpointers available further into the article my current recommendations as the best in their class is the robustness, adjustability and depth is the Dr Otek MT6 and the Kaiweets KGP01.
You can read my mini review article on the Dr Otek Mt6 Pro pinpointer here.
You can also read my review article on the Kaiweets KGP01 pinpointer here.
Find the lowest priced Dr Otek MT6 over on Amazon here.
A metal detecting pinpointer is a very small version of a traditional metal detector that slots into a holster which is attached to your utility belt and pouches.
They are used for finding small targets in holes after being found initially by your larger detector.
If the targets aren’t visible upon the first dig, a pinpointer or probe is the ideal solution to use in the hole to try and precisely locate the target.
The target may either be a little deeper or even hiding in the side wall of a hole if you have been slightly off centre with your main detector pinpointing.
When this happens, smaller, hand held digging tools are also used. I have an article on metal detecting digging tools here.
Even though detectorists use the term “pinpointing” for both the main detector and also using a handheld probe, they mustn’t be confused.
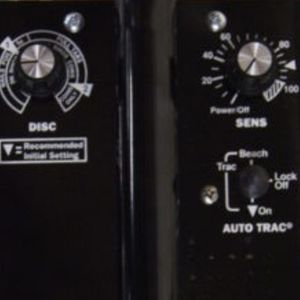
Hopefully, if your main detector has a pinpoint function, this will allow you to determine more accurately where your target is located after main sweeping on the ground.
There usually will be a button on your control panel that will maybe have a crosshairs symbol that will toggle on or off.
You’ll find that the pitch will change from low to high the closer you are over the target. This is perfect for the initial dig.
If after taking out a neat hole, (for replacing after), if the target is still proving difficult to find, the handheld pinpointer can be used to find it.
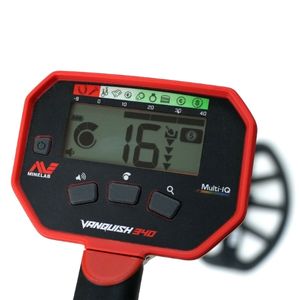
Unbeatable Multi Frequency!
You can now get the ultimate power of multi frequency technology over single frequency detectors with the Minelab Vanquish range of detectors.
The entry level Vanquish 340 now gives you ultimate depth, stability and sensitivity on all target types in every soil, including wet beach sand.
Do you need a pinpointer for metal detecting?
Well, it’s personal preference really and it’s all about maximising your time and recovering targets efficiently. I’ve been on digs before, mainly rallies where anyone can buy a ticket, turn up and go off detecting.

You can always tell newbies because they most nearly always have “yellow” detectors, (and I have my head in my hands here!) and no headphones!
So, all seasoned detectorists can hear is “bing” “bong” “bing” “bong” from that yellow brand that’ll remain nameless!
Anyway, I digress….what I’m getting at is that I very often seen newbies spending over an hour searching a hole on their hands and knees when they could be searching for more targets!
Okay, you can get away without owning a pinpointer but it does take a little longer and does require some technique.
Let me give you an example, say you are sweeping the ground and you have a great signal. You pinpoint it with your main detector and dig your nice neat hole.
The target is not immediately visible….what do you do next? Well, you sweep your coil over the hole again and it’s not there. You sweep over the soil clod and it’s there!….somewhere.
Without a pinpointer, you now have to break up the soil and waft every handful over your detectors search head to see if it’s in your hand….this can be time consuming.
With a pinpointer, you can push it into and around the soil clod to find it straight away.
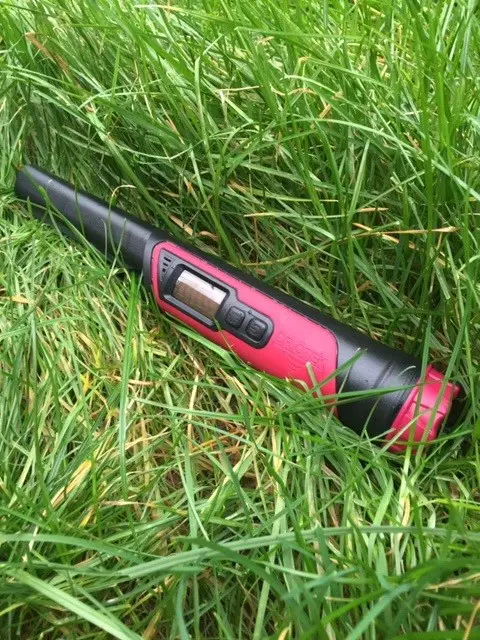
How to use a metal detecting pinpointer
Metal detecting pinpointer
Okay, so you have your hole dug out and say for instance that after checking, the target is not in the soil clod you’ve just turned over. You’ve determined that the elusive target is still in hole.
The pinpointer will hopefully prevent you from having to open up hole bigger.
Opening up big holes is not a great practice in the metal detecting fraternity….it’s frowned on in fact! Out comes your pinpointer which simply turns on and off with a push button.
Some pinpointers are different. Some will only pick up a target on its tip and some will pick up on their tips and also down the blade.

Owning a pinpointer with a blade pick up will allow you to hug the side wall of the hole as to determine if the target is there.
The blade length differs between pinpointers but they will give you 4-5 inches. If the target isn’t there, next check the bottom of the hole with the tip.
You may have not removed enough soil. The depth a pinpointer will achieve depends on the manufacturer but on average, it’ll be 1-3 inches.
The excitement happens when you are getting closer to the target.
With most pinpointers, the closer you get to a target, the faster the beeps will be until you get a continuous tone which will mean you’ll be right on it.
Some pinpointers will also have a feature that will give you a low tone or a physical buzz for iron and a higher tone for non-iron which in a lot of cases can be very useful.
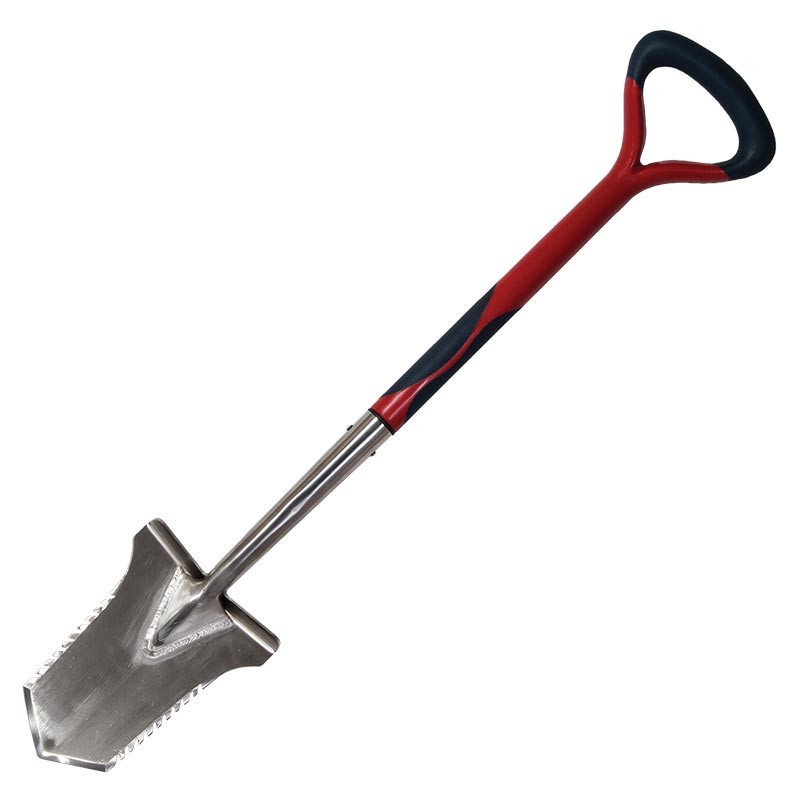
The Evolution Pro Cut
The ultimate accessary for the serious metal detectorist. Super strong, stainless steel specially designed spade.
Cheap metal detector pinpointer
There is a saying in life….”You get what you pay for!” With a pinpointer, that is also very true. Be very wary of pinpointers that are pitched at very low prices to try a lure you in.
They will be cheaply made and very much of an inferior quality to an established brand that has more robust quality control and a reputation to maintain.
I have repeated this ideology in my article helping beginners with a detector choice for a minimum budget. You can read it here.
Cheap, knock off imitation pinpointers can look almost identical in shape or colour so can at first glance look like the real thing.
The first alarm bell is if they’re too cheap and the second is that they won’t display the name of the manufacturer they are trying to imitate.
These cheap pinpointers will have reduced depth, will probably not be as waterproof as they are promising to be and be made of inferior materials. It just isn’t worth it.
My advice is to go for a pinpointer from an established brand that has been in the business for a while and also make larger scale detectors. This will show they have commitment in their products.
Metal detecting pinpointer top tips!
One top tip I can give you is to always carry in your utility pack or pouches, a brand new spare battery or batteries of the same type that fit your pinpointer.
Learn from my errors and never be left in the field with a pinpointer with a flat battery!

Many modern detectors now have rechargeable batteries so as long as you charge up your main machine the night before, you should be okay.
For those using more budget machines, like my top tip suggests, also take with you a spare set of batteries that will fit your main machine.
Again, you don’t want to get caught out.
My second top tip is to make a lanyard attachment for your pinpointer so that it is always attached to your utility belt.
I can’t tell you how many times I’ve seen detectorists aimlessly wandering around like a zombie from the Walking Dead looking for their pinpointer after walking away from a hole.
Find yourself a small, thin and tough lanyard or order one of those coiled jobbies that stretch out and retract. This is exactly what I use.
I’ve also created a secure loop with a trimmed plastic cable tie and plenty of insulation tape….I’m not leaving mine behind anywhere!

The third tip is more specialised in that it’s a strange looking modification I’ve done to my Garrett Pro Pinpointer.
I’ve have a video of me carrying out the modification which can be found in my video vault section with other videos here.
I forget where I got the tip from now but it involves using an old fashioned car ariel and some insulation tape to secure it.
You move and adjust the ariel in and out and for some reason, it can almost double the depth of your Garrett Pro pinpointer!
It looks a bit ramshackle but I’m telling you it works!!
Best metal detector pinpointer
Right, for the reasons I’ve talked about, if you are going to add a pinpointer probe to your accessory kit, don’t go for a cheap knock off and only go with a known brand with a name for quality and a reputation to maintain.
Buying cheap will be a false economy I’m afraid.
The only metal detecting pinpointers I would recommend are the ones below for that very reason. These will be of superior quality and live up to what they claim. The pinpointer I use is the Garrett Pro.
I’ve had it for years and I’ve never felt the need to upgrade it even though I might be forced to in the distant future. It really has been the most robust and reliable piece of kit I’ve relied on.
Garrett Pro-Pointer II
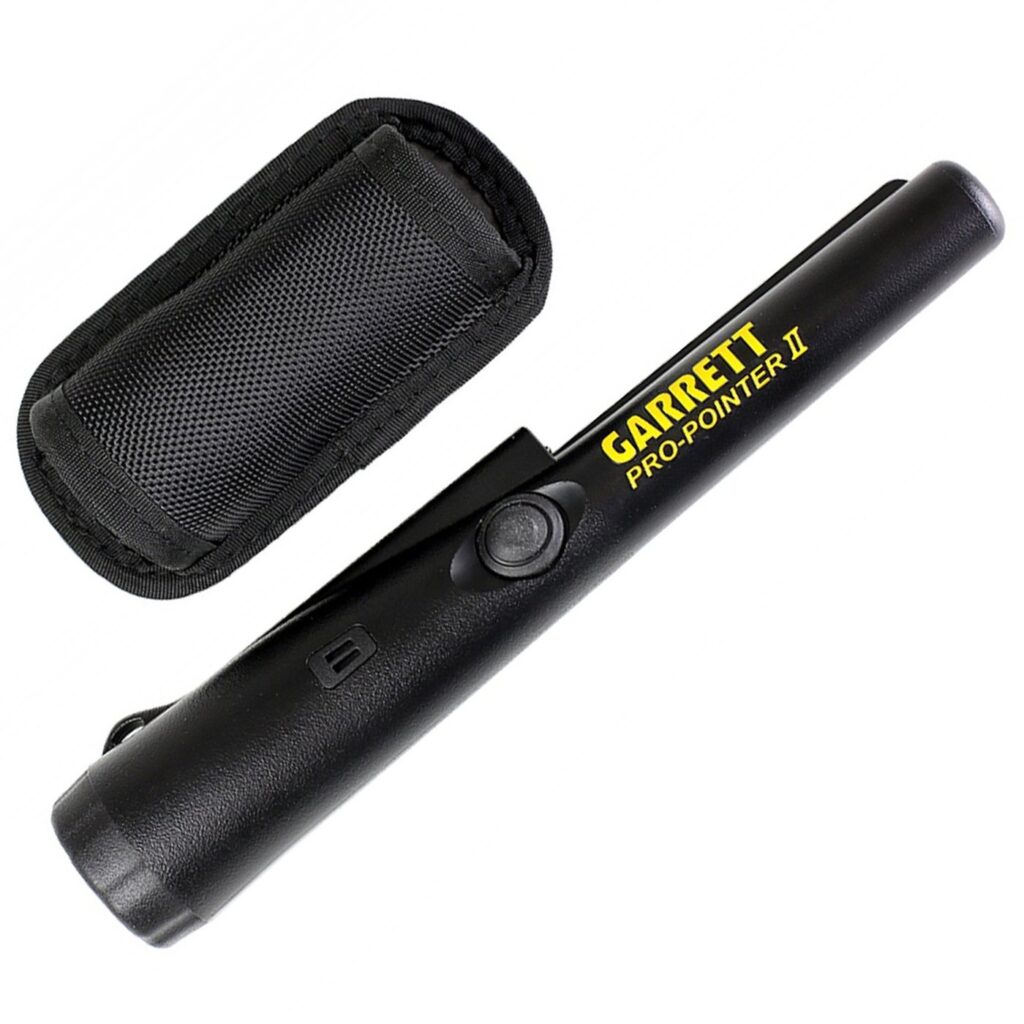
What is good:
Lost pinpointer alarm & Auto shut off feature
Fast retuning & increased sensitivity
360 degree side scan blade detection
What could be better:
You need to change the cheap battery straight away in case it runs out.
The Garrett Pro Pinpointer II is the next generation on from mine which means it does have some extra features.
The main ones are that the quality of the components have been upgraded and this version now has an auto shut off to save the battery. Its main feature is the “Lost Pinpointer Alarm”.
After five minutes of being used without a button being pressed, the Pro-Pointer II will begin emitting progressively faster warning beeps for an hour.
The Auto Off Feature will power down the pinpointer after one of warning beeps.
This version now comes with a lanyard attachment now moulded into the handle. It even has an LED light built in for low light situations.
Minelab Pro-Find 35 Pinpointer
What is good:
Additional ferrous tone ID for iron
Five level sensitivity adjustment & lost alarm feature
Waterproof up to 3m
What could be better:
LED could be brighter
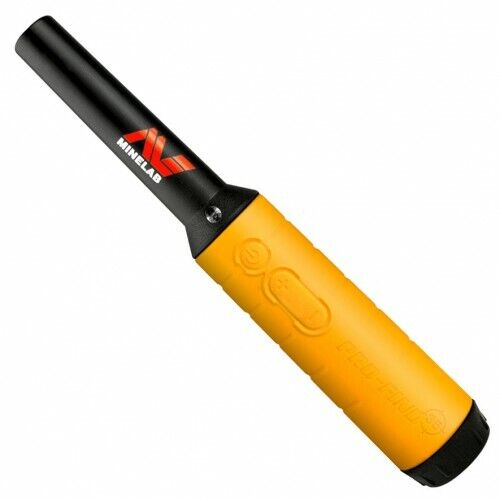
Coming from the Minelab stable, you know that this pinpointer will have a pedigree. Features include a ferrous tone ID which helps to identify ferrous targets from non ferrous targets.
It’s waterproof up to 3m and is ideal for beach and river detecting. The audio tones and vibrations intensify as the probe approaches the target making it easier to recover under water if it’s required.
Adjustable sensitivity allows you to accurately adjust to maximise depth and minimise noise from difficult ground which is easily adjustable with a plus and minus button.
A “lost” alarm helps you find the pinpointer if you’ve left it behind. A holster and strap also included.
Garrett Pro-Pointer AT
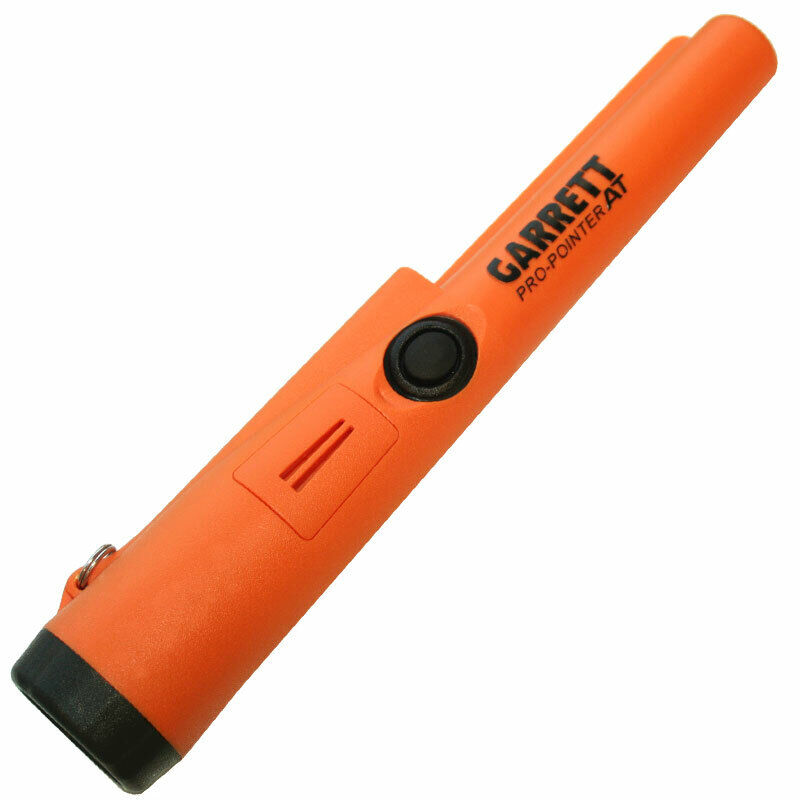
What is good:
Lost pinpointer alarm & Auto shut off feature
Fast retuning & increased sensitivity
360 degree side scan blade detection
What could be better:
You need to change the cheap battery straight away in case it runs out.
Affectionately known within the detecting community as “The Carrot”, this is the latest generation of the Garrett Pro series. It shares all of the previous attributes of previous designs but is just more refined.
As the Pro Pointer II is gradually phased out, this is the natural successor. Very robust and maybe the only pinpointer you’ll need.
They decided to make it orange to help it stand out from the ground to prevent loss.
Dr Otek MT6 Pro Pinpointer
IP68 Rated fully waterproof
Exclusive “Interference cancellation” function
Audio, Vibrate & Audio/Vibrate functions
Deep detection with adjustable sensitivity
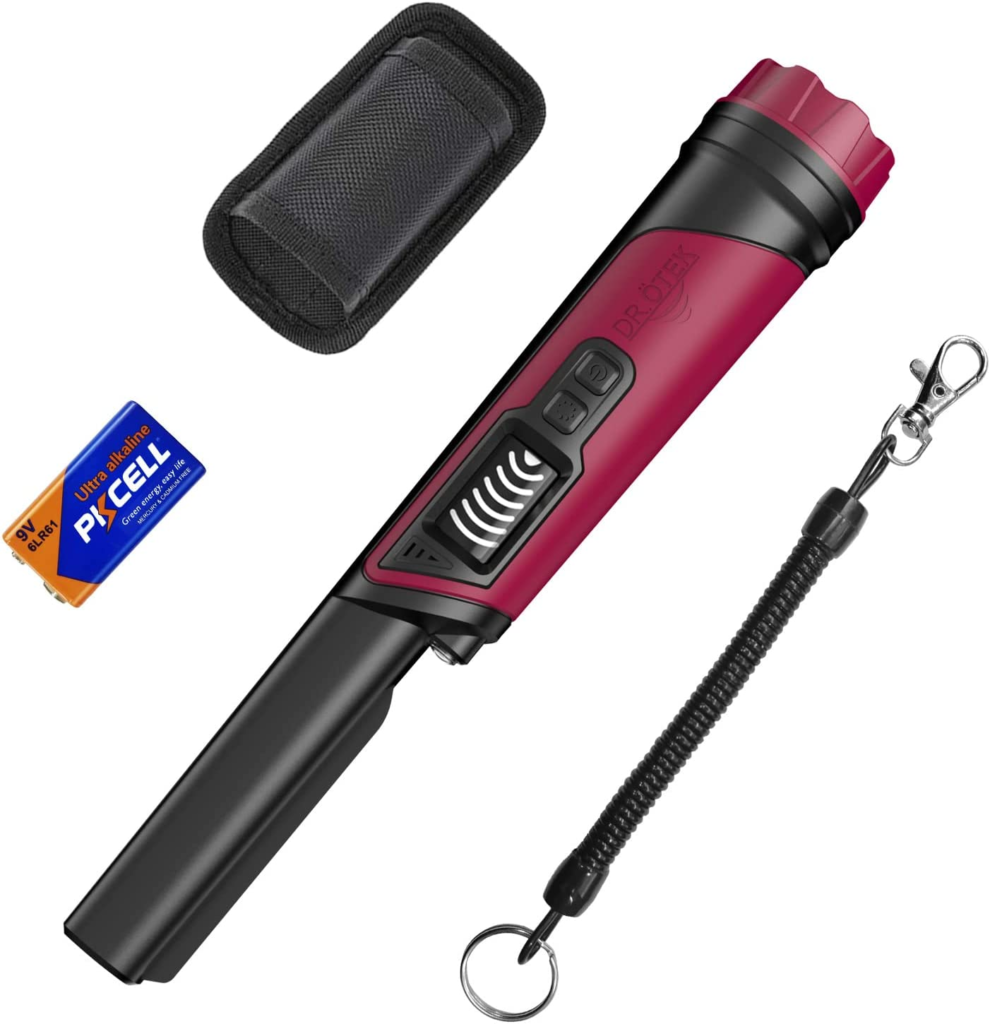
The MT6 Pro from Dr Otek is very much the new kid on the block and is taking the detecting world by storm. This pinpointer in my opinion is the best you’ll get at its price point.
It has adjustable sensitivity when you need it, either to gain a little extra depth or to gain a precise location. It’s waterproof to IP68 rating and is very robust.
Functionality includes use by audio only, vibrate only and audio & vibrate combined. From depth tests with other leading pinpointer manufacturers, the MT6 Pro matched more expensive pinpointers and even bettered them!
This really is the best in its class for its price point!
Kaiweets KGP01 Pinpointer
Recommended Best in Class!
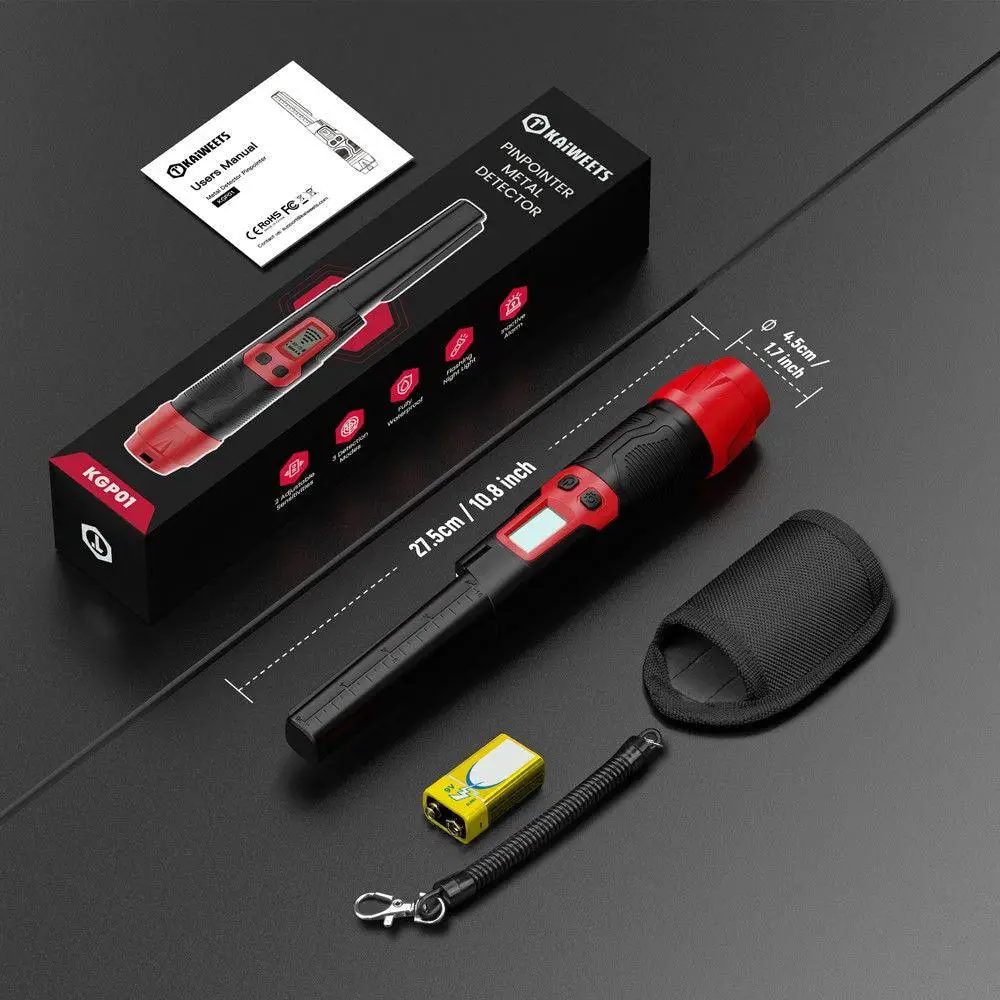
After releasing their budget entry level metal detector, Kaiweets have followed up with their matching pinpointer, the KGP01.
I have conducted a hands on review of this piece of kit and I was so impressed, I have now made this my choice best in class.
For a sub £40 pinpointer, the results were unbelievable.
I have also secured with Jane an additional 15% off if you visit Kaiweets website directly and use my discount code DMD15 at the checkout.
Find the Kaiweets KGP01 metal detector pinpointer at the Kaiweets store here.
If you prefer to visit Amazon because you’re set up for that, I have also secured with her an Amazon Promo code for you. Make note of the Promo Code: S2BILY4L for 15% off.
Find the Kaiweets KGP01 metal detector pinpointer over on Amazon here.
Metal detector pinpointer – Final thoughts
Okay, in this article we have discussed what a pinpointer is, decided if we need one and how it gets used.
We also talked about the perils of getting caught buying a cheap knock off which to be fair, look very similar to the pinpointers they are trying to imitate.
These will usually be orange or black but they WON’T have the name Garrett written them…..please be warned.
I also dropped in some top top tips regarding taking spare batteries in your belt pack to avoid flat battery disappointment! We also spoke about ensuring somehow you have a lanyard attached so you don’t lose it.
I then gave some recommendations which would be only ones I would choose from all of them. Good luck and happy hunting!
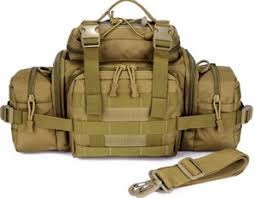
Ultimate Tactical Packs!
Carry everything you’ll need for a detecting day like a First Aid kit, detector spares, finds boxes, batteries, snacks and drinks to rehydrate.
Never forget anything again with a belt pack!